Generate content drafts from your ideas effortlessly using the built-in AI to accelerate your workflow.

30
Sep
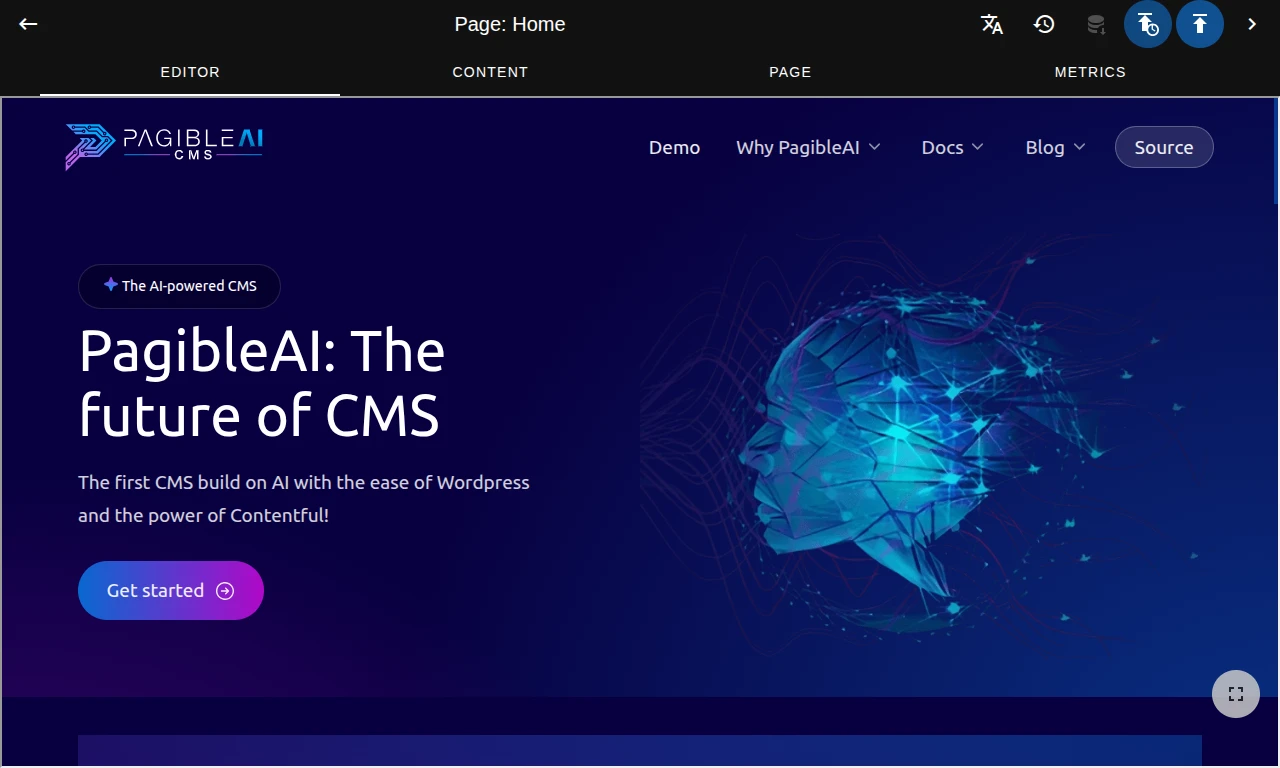
The first CMS build on AI with the ease of Wordpress and the power of Contentful!
Get started

Generate content drafts from your ideas effortlessly using the built-in AI to accelerate your workflow.

Generate perfect, visually appealing AI images to complement your content with ease.
Expand your reach with AI-powered translations, making your content accessible in over 35 languages.

Experience seamless content creation with a full WYSIWYG editor for immediate content preview.
Intuitive drag&drop of pages and content elements allows efficient reordering and simplifies management.

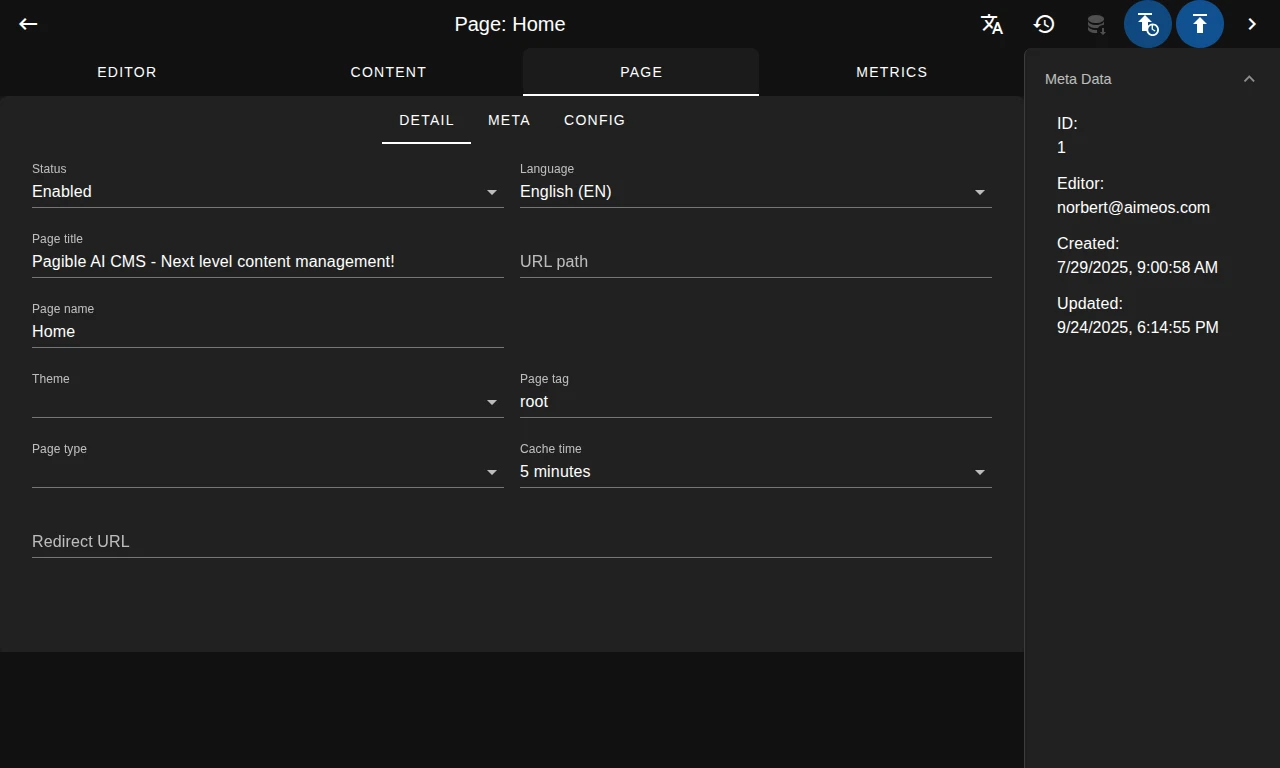
Maintain control with the ability to save drafts, publish updates, and revert to previous versions as needed.

Multi-language admin backend for content management in one of 35+ languages incl. RTL support.

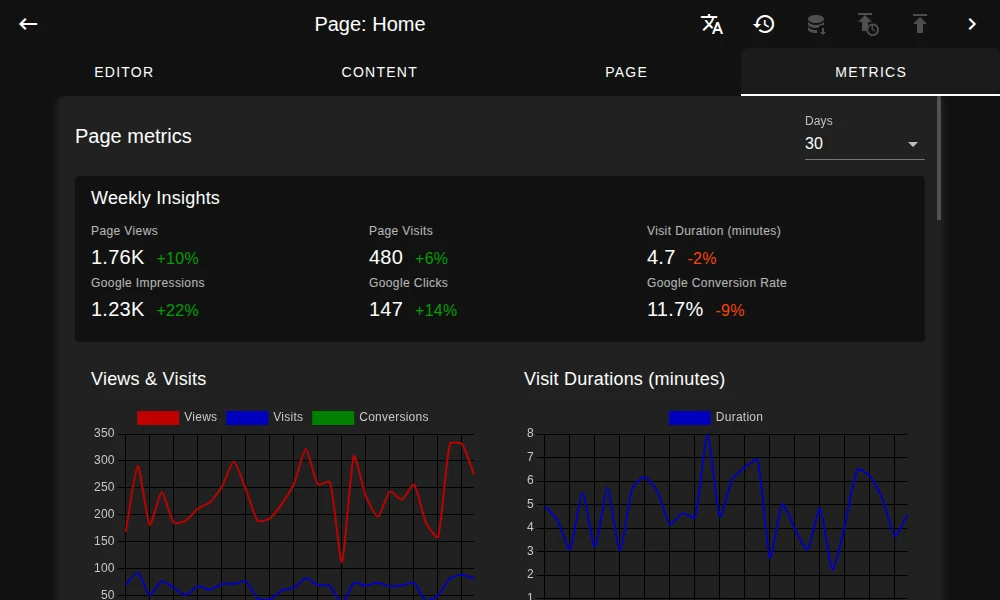
Use integrated analytics to analyze your content performance to optimize your content strategies.

See how users discover your pages through comprehensive data directly from Google Search Console.

Get access to thousands of packages from the powerful and feature-rich Laravel and Vue.js ecosystems.

Experience lightning-fast performance and unmatched efficiency with our cutting-edge JSON REST API.

Use the power of a flexible GraphQL admin API to effortlessly manage your content from everywhere.

The hybrid approach offers first class API or traditional templates with themes for complete flexibility.

Manage structured content efficiently to maintain content for websites, mobile apps and print easily.

Manage multiple websites from one CMS instance, streamlining your content management process.

Designed to leverage the elasticity and distributed nature of AWS, Google Cloud, Azure and Kubernetes.

Scales from simple blogs using SQLite to largest business websites with massive content and traffic.

Benefit from the transparency, community support, and customization possibilities of our CMS.
Features
PagibleAI
Contentful
WordPress
AI-powered content
Ease of use
API-first
Structured content
Content preview
Multi-channel
Multi-language
Collaboration features
Learning curve
Customizable
Cloud-native
Scalability
Performance
Costs
No Vendor lock-in
Open Source
PagibleAI CMS is a revolutionary, new, and AI-powered content management system designed to transform the way you create and manage digital content.
It significantly simplifies content generation, leveraging artificial intelligence to streamline workflows and enhance efficiency for users.
Furthermore, PagibleAI CMS boasts seamless integration capabilities, making it an ideal solution for effortlessly incorporating advanced content management features into any existing Laravel application.
PagibleAI revolutionizes content management by integrating advanced AI capabilities for content generation, image creation, and multi-language translation, offering a significant leap beyond the manual processes and conventional structures of traditional CMS platforms.
Yes, but better! PagibleAI CMS combines frontend editing with WYSIWYG while creating or changing your content. Thus, you can see your new content in the frontend immediately after saving without any additional clicks.
Together with PagibleAI's draft and publish feature, you can update your page until it's perfect and only then, make it available to the public.
PagibleAI CMS is engineered for exceptional scalability, adapting effortlessly to diverse operational demands. It seamlessly scales from personal blog on shared hosting without database, all the way up to large-scale websites in a multi-node enterprise cluster.
This robust architecture enables it to efficiently serve billions of page requests per day, ensuring optimal performance and reliability even under the heaviest traffic loads.
Yes, PagibleAI CMS is designed with headless capabilities, providing both an exceptionally fast JSON REST API and a powerful GraphQL API for seamless content administration. However, we prefer to categorize it as an API-first CMS.
This distinction highlights that while it offers robust API access for ultimate flexibility, it also provides server-side page rendering. This unique feature removes the necessity to build a separate front-end application from scratch, simplifying and accelerating development.
PagibleAI CMS is inherently designed for the cloud, offering unparalleled scalability and flexibility to meet diverse deployment needs.
It seamlessly integrates with and can be deployed across all leading cloud environments, including AWS, Google Cloud, Microsoft Azure, and various Kubernetes-based infrastructures.
This robust cloud-native architecture ensures your content management system is future-proof, high-performing, and adaptable to any enterprise demand.
Create Content Smarter, Faster, Simpler. Upgrade to the only CMS that puts AI, scalability, and ease of use at its core!
Start now!